Smooth Motor is specialized in high precision stepper motor and customized assembly for 32 years.
Language
Smooth Motor is specialized in high precision stepper motor and customized assembly for 32 years.
Learn how to run a stepper motor, a step-by-step setup, wiring tips, and driving methods for precise control in robotics, 3D printing, and more.
Trying to run a stepper motor can feel confusing at first. Many people struggle with wiring, drivers, and controllers, and the motor doesn’t move the way they expect. Unlike normal motors that spin freely, a stepper motor turns in small, exact steps, which makes it special but also tricky.
It needs the right driver, power supply, and a controller like Arduino to work properly. If even one thing is off, the motor won’t run smoothly. So, how can you set it up the easy way and make it work without the stress?
A stepper motor is a particular electronic motor. It has more than just spinning power, as it has taken tiny, precise steps. Each step is a set of degrees, 1.8 degrees normally. That’s why they are very useful for things like cameras, which require precise positioning.
A stepper motor consists of a rotor (the moving part) and a stator (the stationary part). The rotor is typically a magnet, and the stator has coils that produce magnetic fields. When you transmit electrical pulses to the loops, every time the rotor moves a step.
These pulses operate the motor by varying the speed and direction under your control; therefore, they are very accurate.
● Stator: Coils that stay still and make magnetic fields.
● Pulses: Electric signals that tell the motor to move.
● Control: Manages how fast and which way the motor goes.
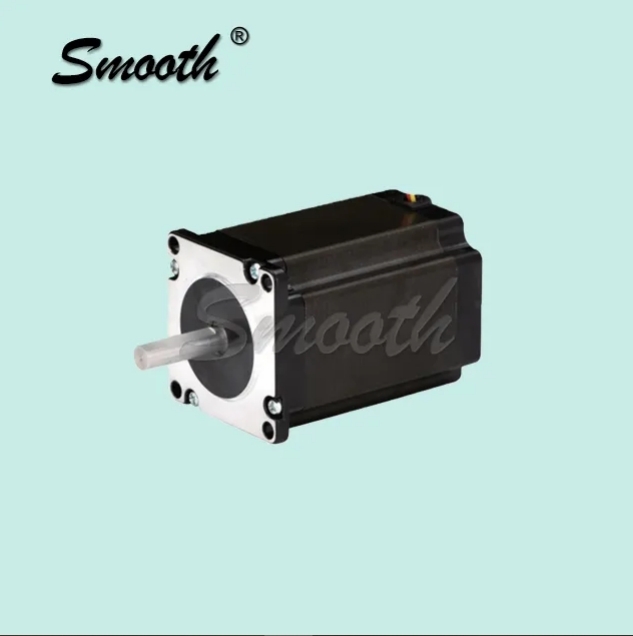
There are different kinds of stepper motors, and each is good for specific jobs:
● Permanent Magnet (PM): Cheap, strong, and simple.
● Variable Reluctance (VR): Powerful, with bigger steps.
● Hybrid Stepper Motors: Mix of PM and VR for great precision and power.
Hybrid stepper motors are super popular because they balance accuracy and strength. They’re perfect for 3D printers or robots. There are also linear stepper motors that move in a straight line, great for certain tasks.
Stepper motors are loved for a few big reasons:
● Precise: They move exactly where you want.
● Easy Control: There is no need for additional sensors, which makes it easy.
● Durable: There are no brushes to wear, making them durable.
● Multifunctional: Used in robots, printers, and factories.
● Cost-effective: Very economical in most tasks.
These features make stepper motors a go-to for projects needing control and accuracy.
It requires a few quite essential things to get a stepper motor moving:
● Stepper Motor: It is the main part that resembles a hybrid.
● Motor Driver: It is used to send the signals out to drive the motor.
● Power Supply: It is important to deliver the correct voltage and current.
● Controller: Controls what the motor does, the Arduino.
● Wires and Connectors: They are used to connect all things.
● Cooling (Optional): Fans or heatsinks in a heavy-duty configuration.
Here is by step-by-step guide for picking the right stepper motor.
You need a motor driver to make the motor move. It sends the right signals to control steps. Popular drivers are A4988, DRV8825, or TB6600. They can do microstepping for smoother motion. Make sure the driver matches your motor’s voltage and current. For big industrial stepper motors, pick a driver that can handle heavy loads.
Your power supply has to match the motor and driver. Most stepper motors use 12-24 volts. Current needs are usually 1-4 amps. A steady power supply keeps the motor running right. For can stack motors, you might need less power, but always check the motor’s specs. Make sure the supply can handle the motor’s max needs.
A controller sends signals to the driver. Arduino works well with beginners due to the ease of code libraries included, such as AccelStepper. In the case of big industrial motors, you may require a powerful controller to have complex functions. Just make sure it works with your driver.
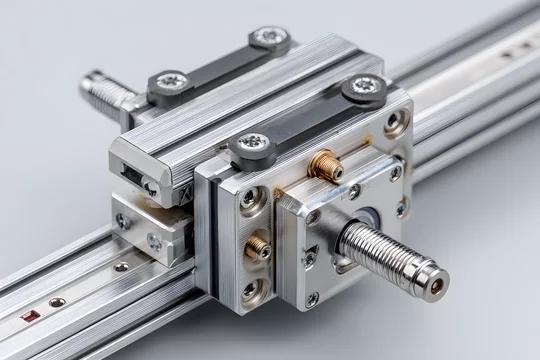
Setting up a stepper motor is pretty simple if you go step by step. Here’s how:
Stepper motors have a few wires. Bipolar motors have four, while unipolar ones might have five or six. Check the motor’s datasheet to find the right wire pairs. Connect them to the driver’s output pins. For hybrid stepper motors, wrong wiring can make the motor shake or not move. Double-check before moving on.
Connect the driver to your controller, like an Arduino. Use the step and direction pins. The step pin controls how fast the motor moves, and the direction pin sets which way it turns. For can stack motors, make sure the signals are timed right. Secure all wires to avoid problems.
Connect one terminal of the power supply to the driver. Ensure both the current and voltage fit the motor well. For industrial stepper motors, use a strong power supply for heavy jobs. Turn off the power while setting up to stay safe. Test all connections before flipping the switch.
There is a need to program the controller to make the motor move. If you are working with Arduino, use the AccelStepper library. Specify the number of steps and the speed of the motor, for example, 200 steps at 60 RPM. Adjust timing for smooth motion. Microstepping can make things quieter, especially for hybrid motors. Start with small test movements.
There are a few ways to control a stepper motor. Each affects how smooth or strong it is.
This mode powers two coils at once. It gives the most strength but can be loud. The step size remains normal, at approximately 1.8 degrees. It’s great for industrial stepper motors in heavy machines.
Half-step mode switches between one and two coils. It makes steps smaller, like 0.9 degrees, for smoother motion. It’s a bit weaker but quieter. It’s good for hybrid stepper motors when you want less shaking.
Microstepping breaks steps into tiny pieces, like 1/16 or 1/32 of a step. It uses varying currents in the coils to move super smoothly. This cuts down noise and is great for can stack motors in precise tools like medical devices.
To make your stepper motor work great, try these tips:
● Use Microstepping: Makes motion smoother and quieter.
● Set Current Right: Match the driver’s current to the motor.
● Choose Steps: Too much makes it hot; too little skips steps.
● Add Gears: Boosts power for slow tasks.
● Use Rubber Mounts: Cuts down on shaking noise.
● Check Wires: Ensure the coils have the correct connection, particularly in hybrid motors.
● Stay Chilled: Put it on Heavy Usage, add Heatsinks or Fans.
● Test Slow: You have to test at slow speeds to make sure everything is in order
Stepper motors are super versatile. They’re used in tons of places:
● 3D Printing: Moves print heads for perfect prints.
● CNC Machines: Control tools for precise cuts.
● Robotics: Positions arms and joints accurately.
● Medical Devices: Runs pumps or scanners.
● Cameras: Adjusts focus or moves lenses.
● Automation: Powers conveyors or positioning systems.
Linear stepper motors are great for straight-line jobs. Industrial stepper motors handle tough tasks with lots of power.
Smooth Motor is a reputable brand in the stepper motor industry, spanning an experience of more than 30 years. Since 1994, located in Ningbo, China, it has established a reputation for producing high-quality, accurate motors that drive any type of machine, including robots.
They focus on manufacturing quality products that enable your projects to progress smoothly and accurately.
Here are some of the products they offer:
● 14HA 35mm 0.9° Smooth Hybrid Stepper Motors
● 34HD 86mm Hollow Shaft 2 Phase Stepper Motor
● 8HY 20mm 1.8° Nema Stepper Motors
Visit Smooth Motor for top-notch solutions for your needs.
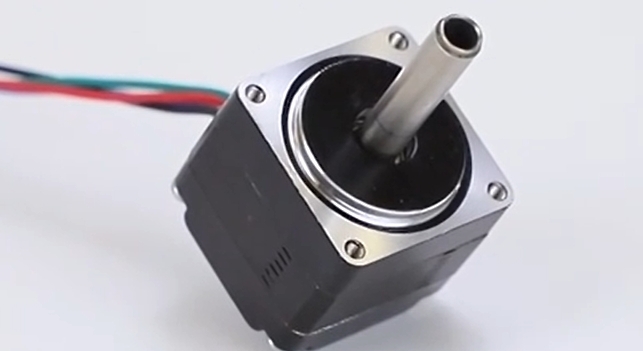
Running a stepper motor is easy once you know the steps. Pick the right motor, driver, and power supply. Wire it up carefully and program it to move just right. Use microstepping for smooth motion and tricks like closed-loop control for better results.
Hybrid, linear, and can stack stepper motors work for all kinds of projects. For great motors, contact Smooth Motor. They’ve got years of experience, a wide range of products, and a knack for solving tricky motion control problems.
Send Us A Message
Our extensive experience in diverse motion applications and industries, combined with our in-depth knowledge of the components used in motion control will make us an invaluable resource for your next motion control project.

